- Sku: RONDUO736
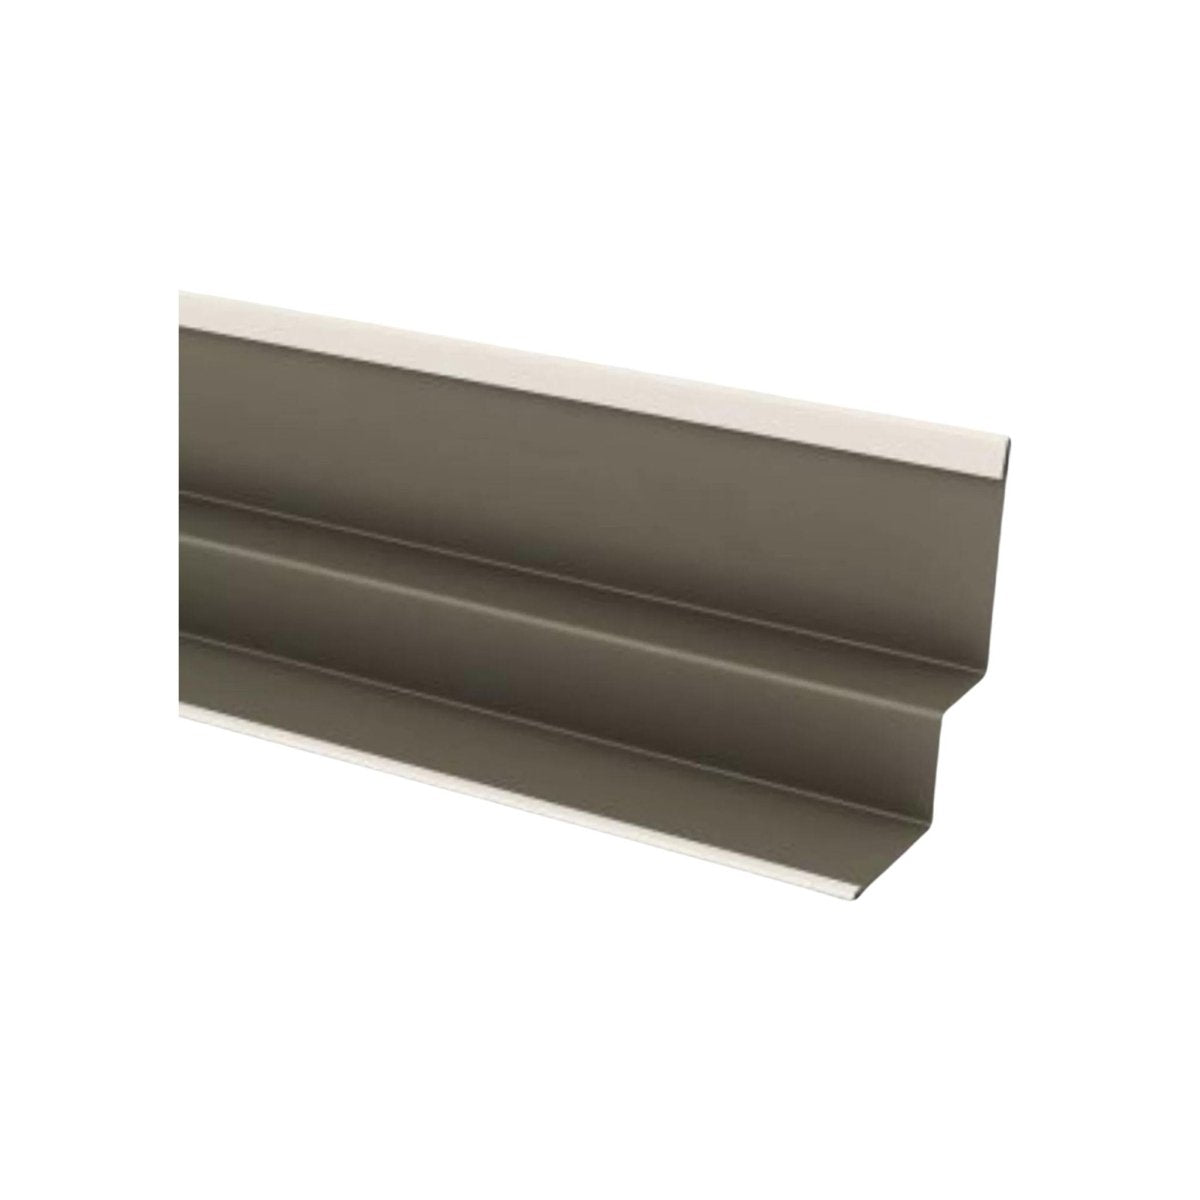
Rondo DUO7 Aluminium Shadowline Wall Angle 3600mm
Product Description
Rondo DUO7 - 19mm (h) x 9mm (w) x 9mm (h) x 15mm (w) Aluminium Shadowline Wall Angle – Tile White
Sub Pack: 12
Where does Wall Ceiling deliver to?
Wall Ceiling is delighted to offer plasterboard delivery to metro Sydney.
For REGIONAL AREA, please email us at info@wallceiling.com.au with the items and quantities you need from our website, and we will promptly provide a manual quote.
How much do you charge for delivery?
Customer will receive an accurate delivery charge during checkout.
How long does it take to deliver the order and how much it will cost?
Delivery time frame varies by location:
| Location | Delivery Time Frame | Delivery Cost |
| Sydney | 1 - 3 business days | Starts from $45 |
| Central Coast | 3 - 5 business days | Flat delivery $195 |
| Wollongong | 3 - 5 business days | Flat delivery $195 |
| Bowral - Mittagong | 3 - 5 business days | Flat delivery $195 |
Some products may have a longer lead time which we will inform you as early as possible.
Who is responsible for unloading the materials off the truck?
Our delivery driver will assist to unload the materials next to the truck. However, it is the customer's responsibility to move the materials beyond that point.
Do I need to be on-site to receive my delivery?
Yes, if you are not available, please kindly arrange another person to accept and help with unloading on your behalf.
Do you offer crane truck delivery?
No, we found hand unload or forklift on site is the most effectively way to unload plasterboard products.
What time will truck arrive during the delivery day?
It's difficult to predict precise delivery time due to factors such as traffic and weather conditions.
To facilitate a smooth delivery process:
- Our office will schedule and confirm delivery date with you after receiving your order.
- On the day of delivery, our driver will contact you before dispatching from warehouse to ensure you are prepared.
Have a question?

Grid Ceiling Installation
Installing a Rondo Duo grid ceiling can be a great way to create an attractive and functional ceiling in your space. Here's a step-by-step guide to help you install it:

Step 1: Preparation and Planning
- Measure the Area: Accurately measure the ceiling area where you plan to install the grid.
- Materials and Tools: Purchase Rondo Duo grid components, including main tee DUO1, cross tees DUO2, steel wall angles DUO5, and hangers. You'll also need tools like a drill, tape measure, tin snips, and a laser level.
- Safety Equipment: Ensure you have safety gear like gloves, eye protection, and a hard hat.
Step 2: Setting the Perimeter
- Mark the Ceiling Level: Use a laser level to mark the desired height of the ceiling on the walls.
- Install Wall Angles: Secure wall angles along the marked lines on all walls using appropriate fixings.
Step 3: Installing Main Tees
- Locate Main Tee Positions: Determine the positioning of the main tees based on the ceiling layout and panel size.
- Install Suspension Wires: Securely fix suspension wires to the overhead structure at the determined main tee positions.
- Hang Main Tees: Attach the main tees to the suspension wires, ensuring they are level and aligned with the wall angles.

Step 4: Adding Cross Tees
- Insert Cross Tees: Snap the cross tees into place perpendicular to the main tees at the specified intervals.
- Check for Squareness: Regularly check to ensure that the grid is square and level as you add more cross tees.
Step 5: Completing the Grid
- Install Additional Tees: Continue adding main and cross tees as per your design, ensuring everything remains level and properly aligned.
- Cut to Fit: Trim any tees as necessary to fit the perimeter.
Step 6: Insert Ceiling Tiles
- Ceiling Tiles: Choose appropriate Ceiling Tiles for your grid.
- Install Panels: Carefully lift and place the tiles into the grid, starting from one corner and working across.
Step 7: Finishing Touches
- Inspect and Adjust: Inspect the installation, making any necessary adjustments to ensure all panels sit flush and securely.
- Clean Up: Remove any debris, dust, or excess material from the new ceiling.
Additional Tips:
- Stay Organized: Keep your workspace tidy and tools organized for efficiency.
- Follow Manufacturer’s Instructions: Always refer to Rondo’s specific installation guidelines.
- Seek Help if Needed: If you’re unsure about any step, don’t hesitate to seek help from a professional.
Remember, safety should always be your top priority. Wear protective gear and follow safety guidelines throughout the installation process. With careful planning and attention to detail, your Rondo Duo grid ceiling installation will enhance the aesthetic and functionality of your space.
For more information please feel to contact us.